Assembling the Unit
— how to — 1 min read
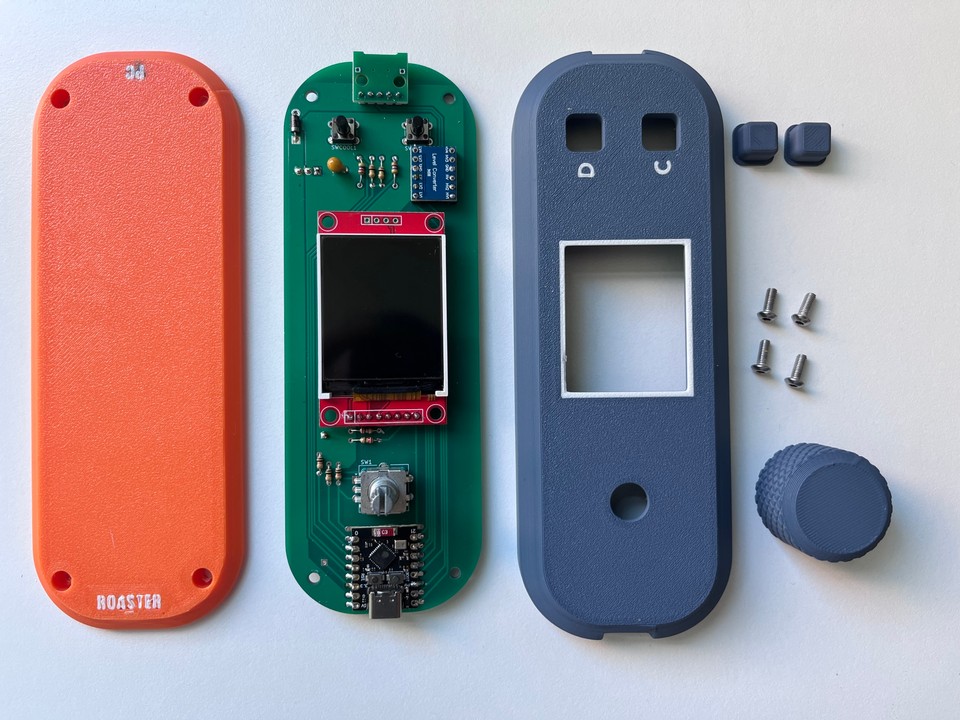
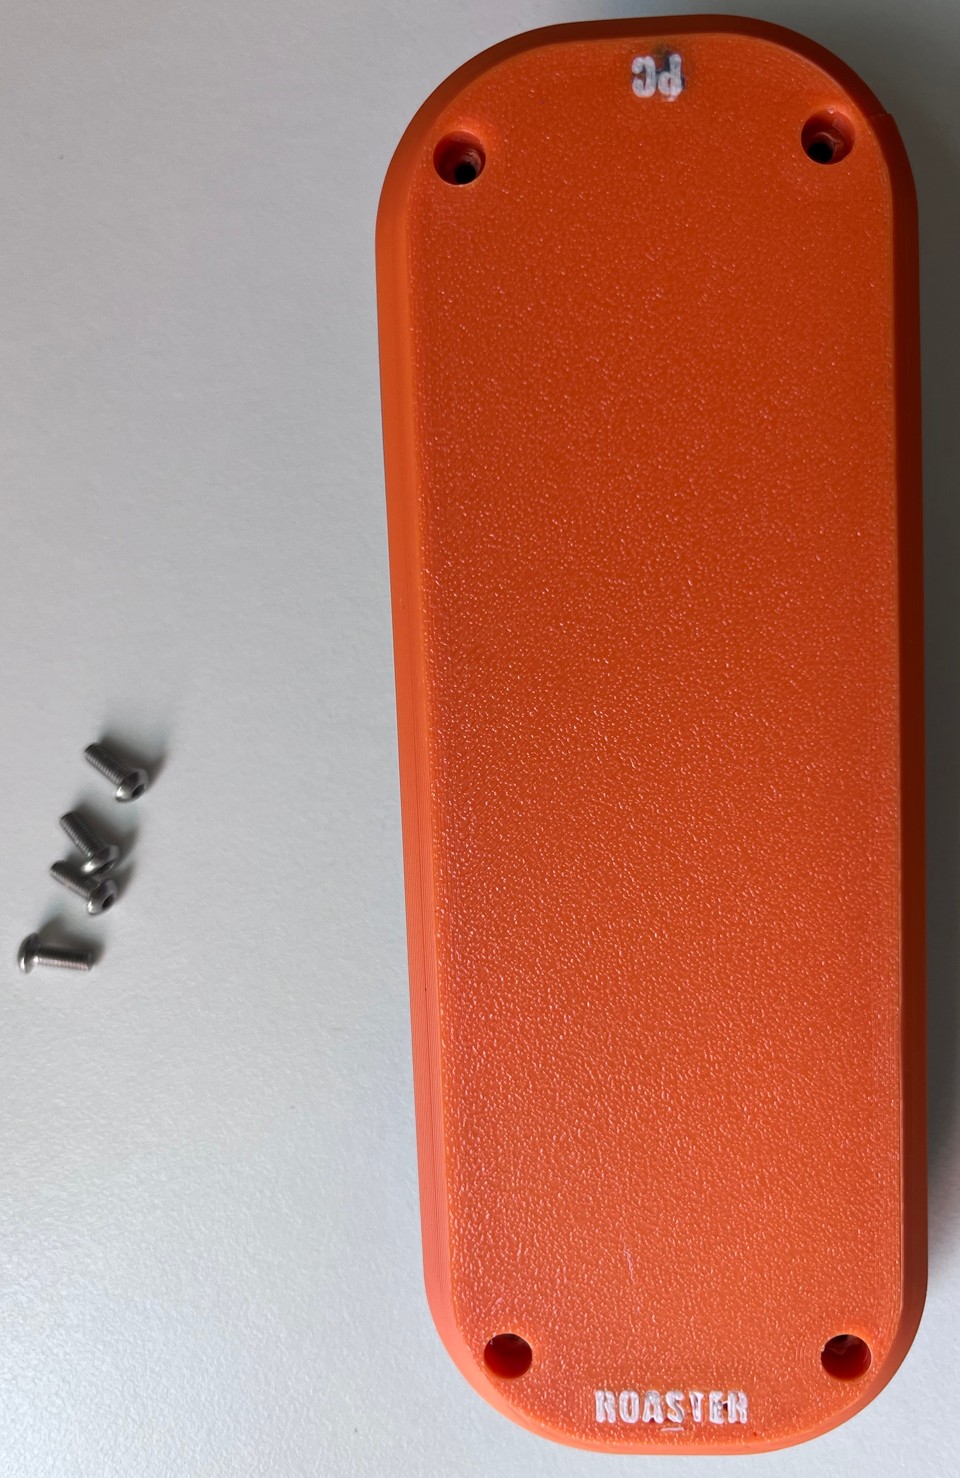
You will need the parts shown below to assemble. Most of the 3d prints have a 0.2mm tolerance built in so the components fit.
Make sure that the PCB components are soldered flush and even or the slots for the USB, LCD or buttons may not align correctly.
These are the issues you may typically face if the alignment is not correct for any of the parts.
- esp32 is not flush against the PCB and not placed in the center of the pin. The USB will not line up with the slot.
- LCD pins are not flush and LCD is not parallel to the PCB - the PCB will not seat properly in the enclosure.
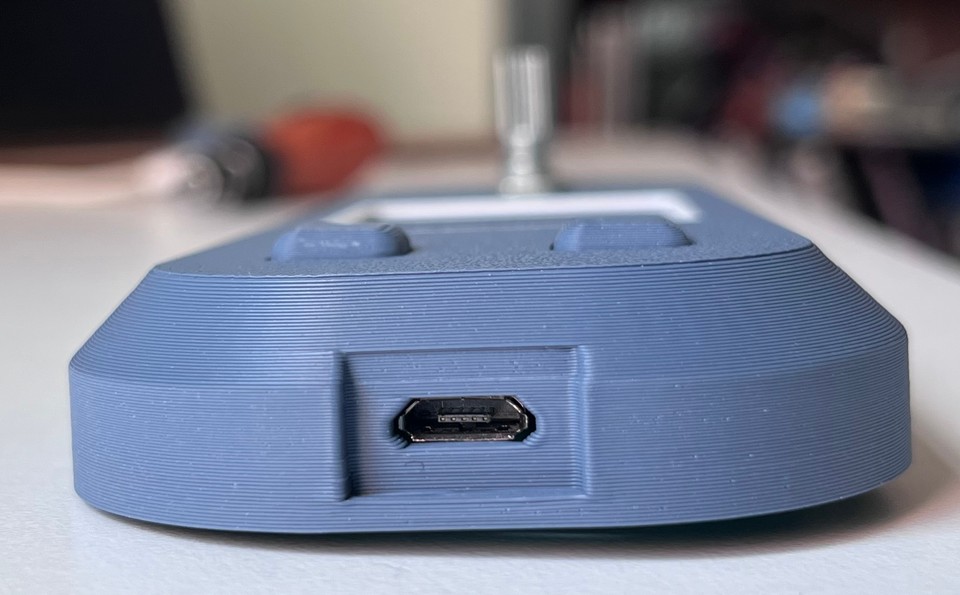
- micro usb board is not flush with PCB - it may not be easily accessible in the slot if so.
- the two switches are not even and flush with the PCB - the buttons will stick if this happens.
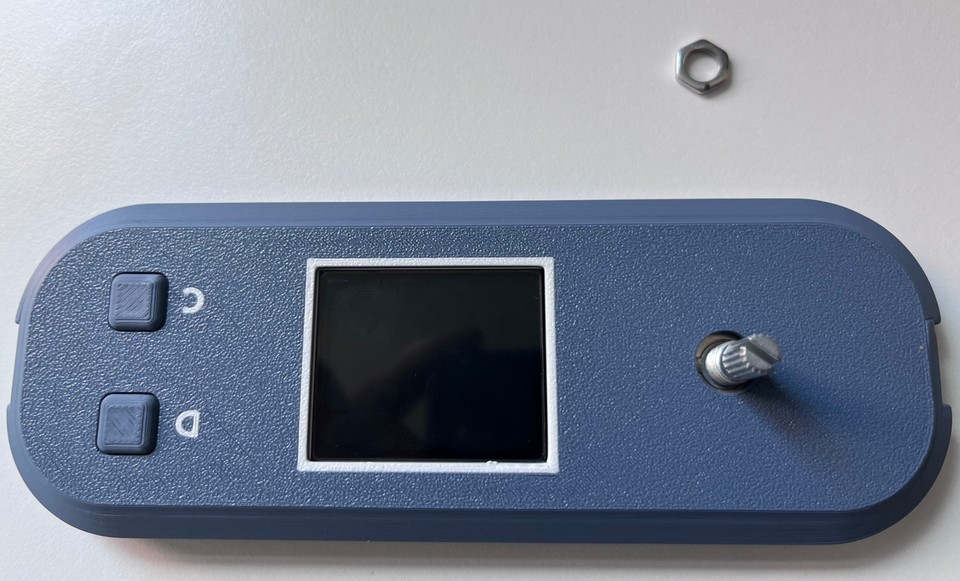
Step 1
Insert the two buttons into the enclosure's button holes for the 2 switches
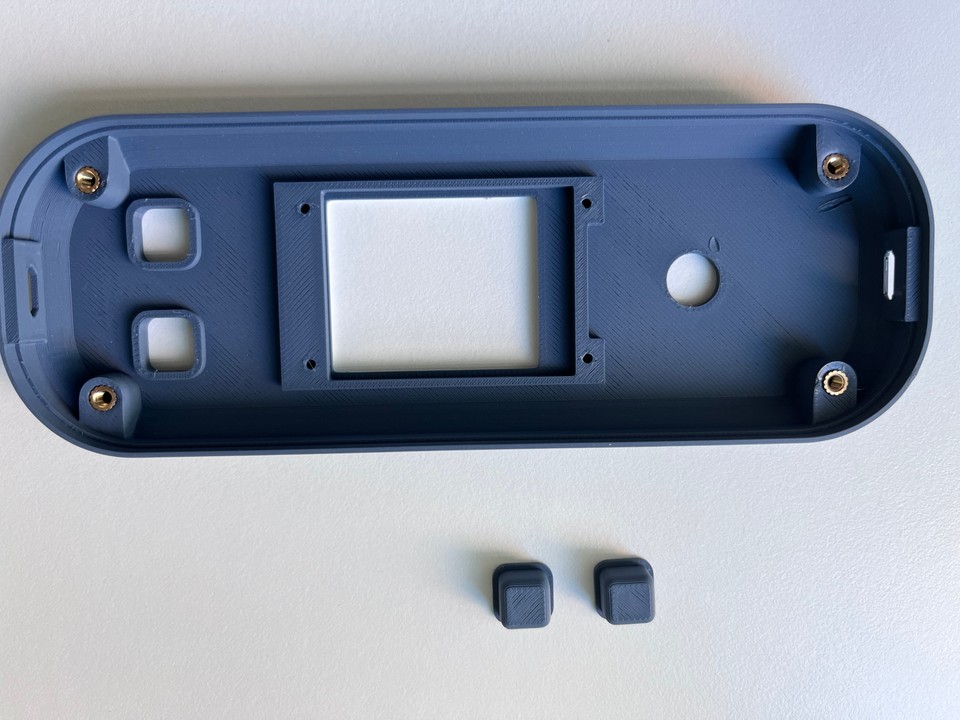
Step 2
Insert the PCB carefully and make sure the LCD is lined up with the LCD pocket. Do not push the PCB in until you check the alignment of the LCD, or you may damage the LCD. There is 0.2mm tolerance for the LCD insert.
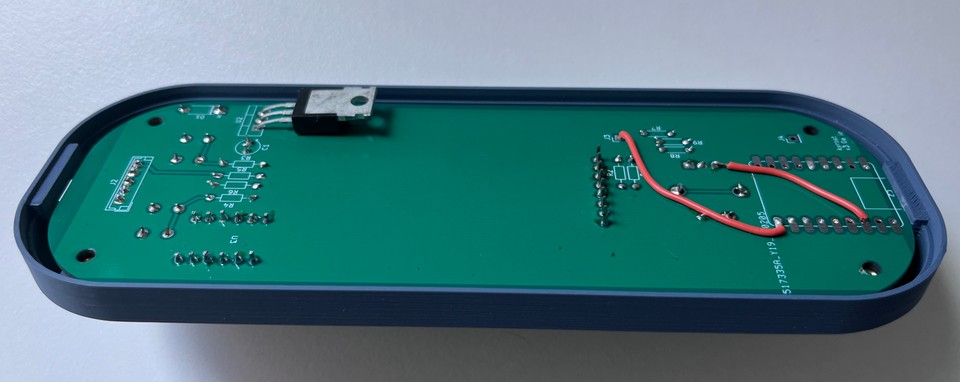
Step 3
Insert and tighten the nut that came with the rotary switch. This holds the PCB in place firmly.
Step 4
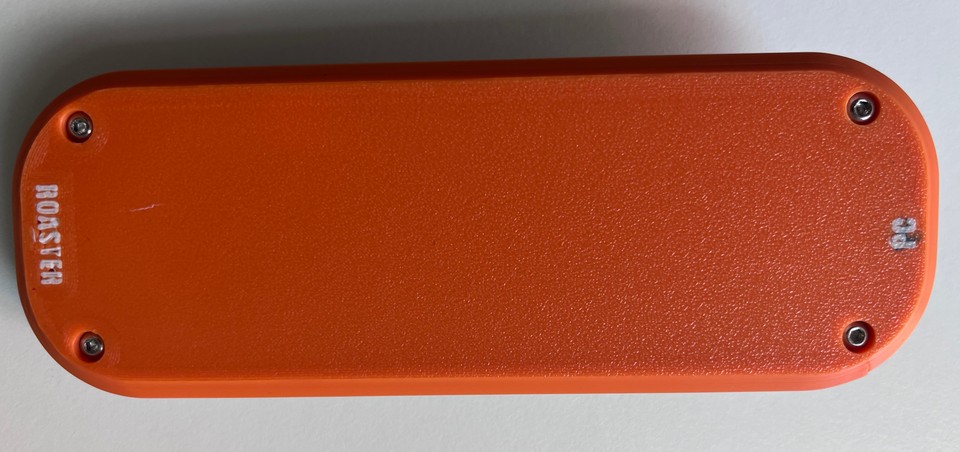
Align the rear enclosure, making sure that the side marked PC is towards the same side as the esp32. Press in firmly and screw in the 4 screws.
Step 5
Connect to your roaster and turn on the roaster.